Office Management
Rolling out Team Today for desk booking
In this guide we’re zooming in for a closer look at one of our four pillars, Desk Booking, to give you some tips on how to roll out this feature for your teams.
Desk Booking helps you manage hot-desking in your hybrid workplace. Your team can see how many seats are available, see who else is booked in and where they are sat, and make a booking quickly and easily.
As with all our features, we have a bustling library full of support ready for you and you can always contact us too. For now, pack up your briefcase and take a seat in one of our Team Today hot desks as we explore the wonderful work of hybrid desk management.
First things first
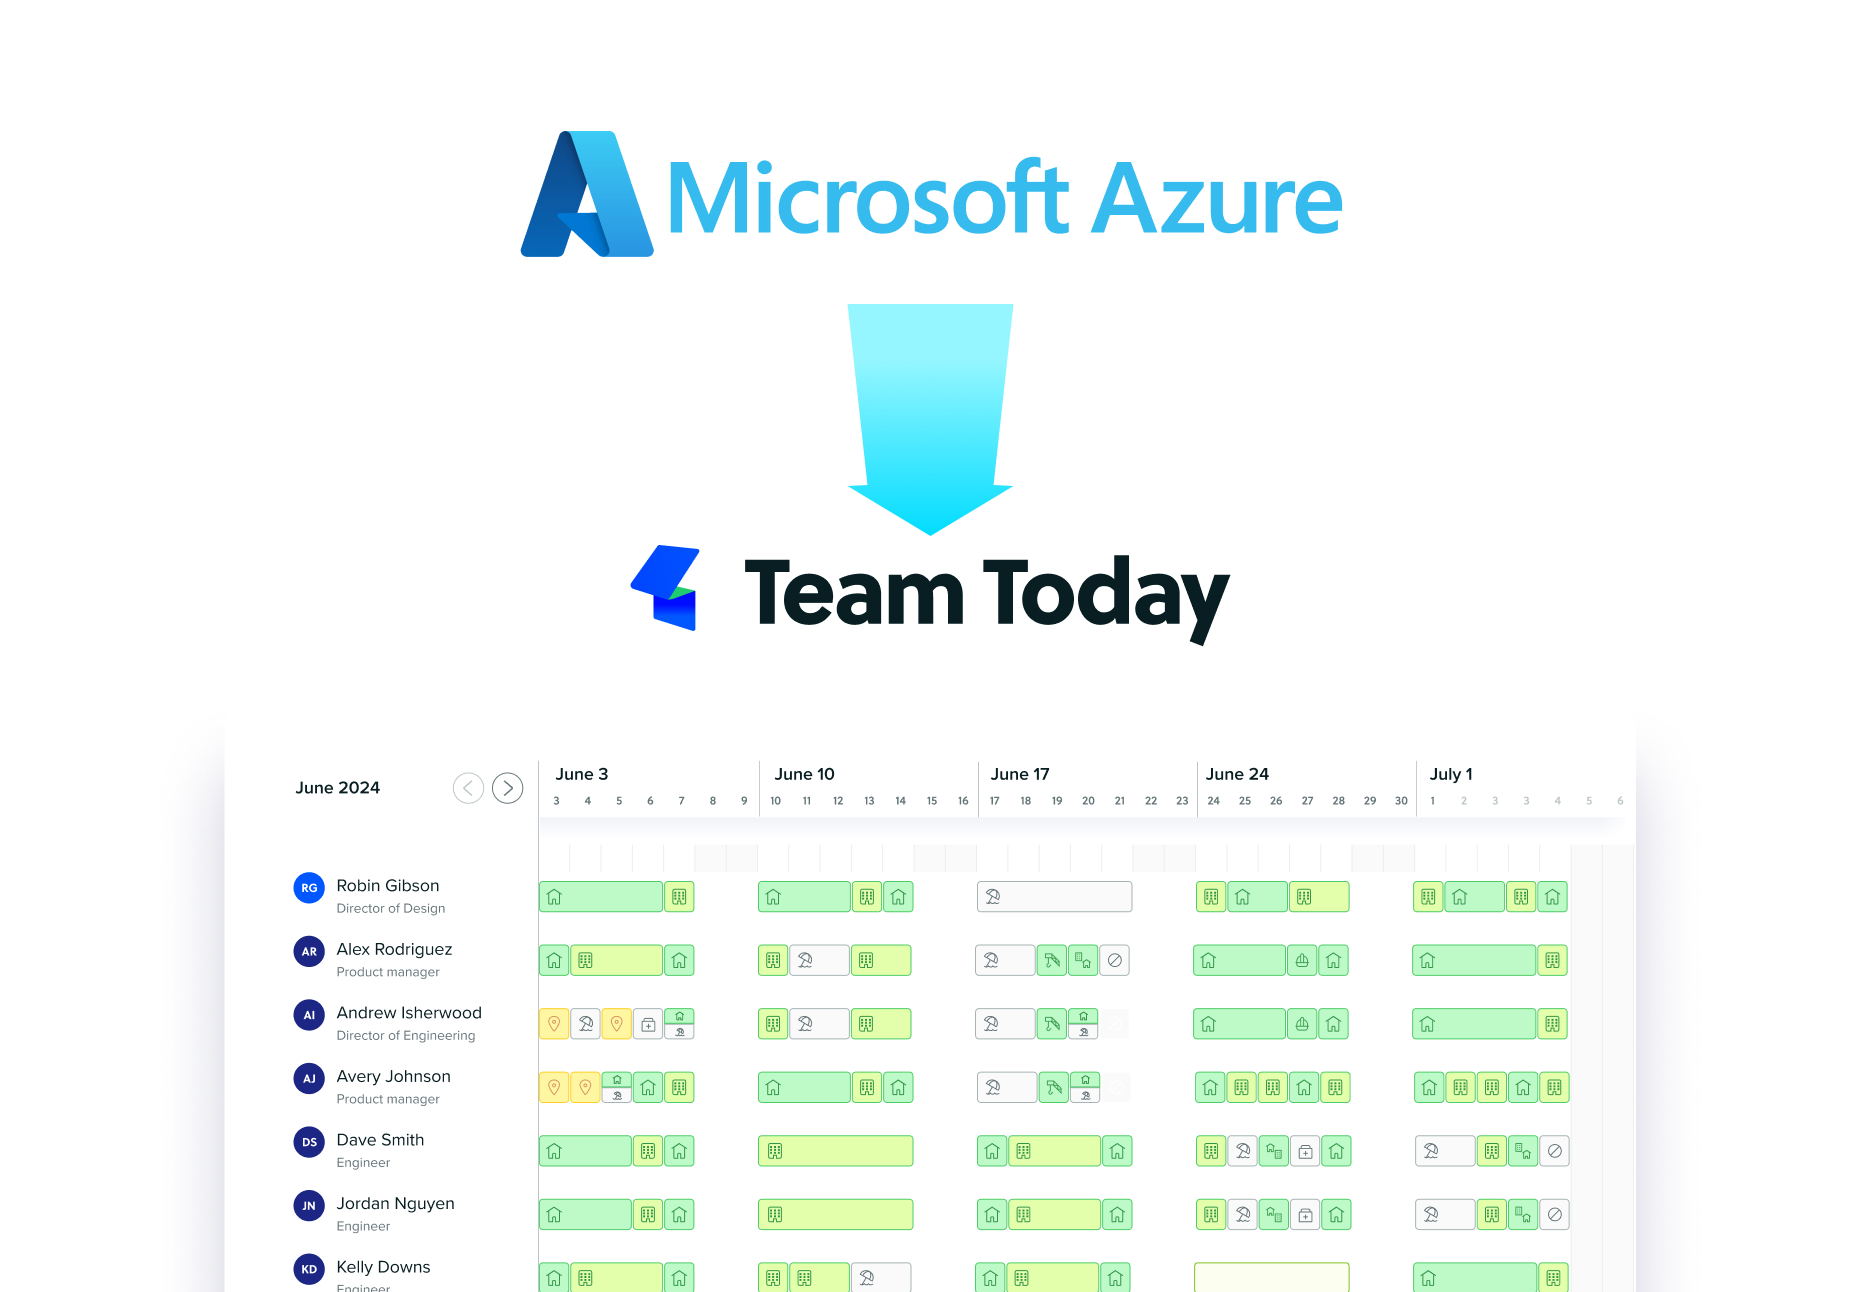
Team Today is fully integrated with Microsoft Teams, so once you’ve set up your account with Team Today, you will need to install the MS Teams app.
It’s a good idea to consider who will be responsible for administering Team Today for your organisation. We recommend that an IT administrator installs the app – we have full guidance here. Or users can install directly themselves. Either way, we recommend all calendar permissions are accepted so that bookings are synched to Outlook.
Getting set Up
To ensure the Desk Booking feature works best for your company, you need to configure the settings to your requirements. In your Management tab, you will find Offices, Desk Booking and Car Parking. This will take you into Office Management – the mainframe for managing and editing desks. In here you can set up offices, floors and areas, and as we’ve made it customisable, you can tailor it to the way your business operates.
Setting up your offices is as easy as clicking ‘Create New Office’ and adding a title and postcode. And to set up desk editor just select ‘Enable Desk Booking’. As well as offices, you can also add Custom Whereabouts (view our guide here), so you can track activities such as client visits, training, seminars etc.
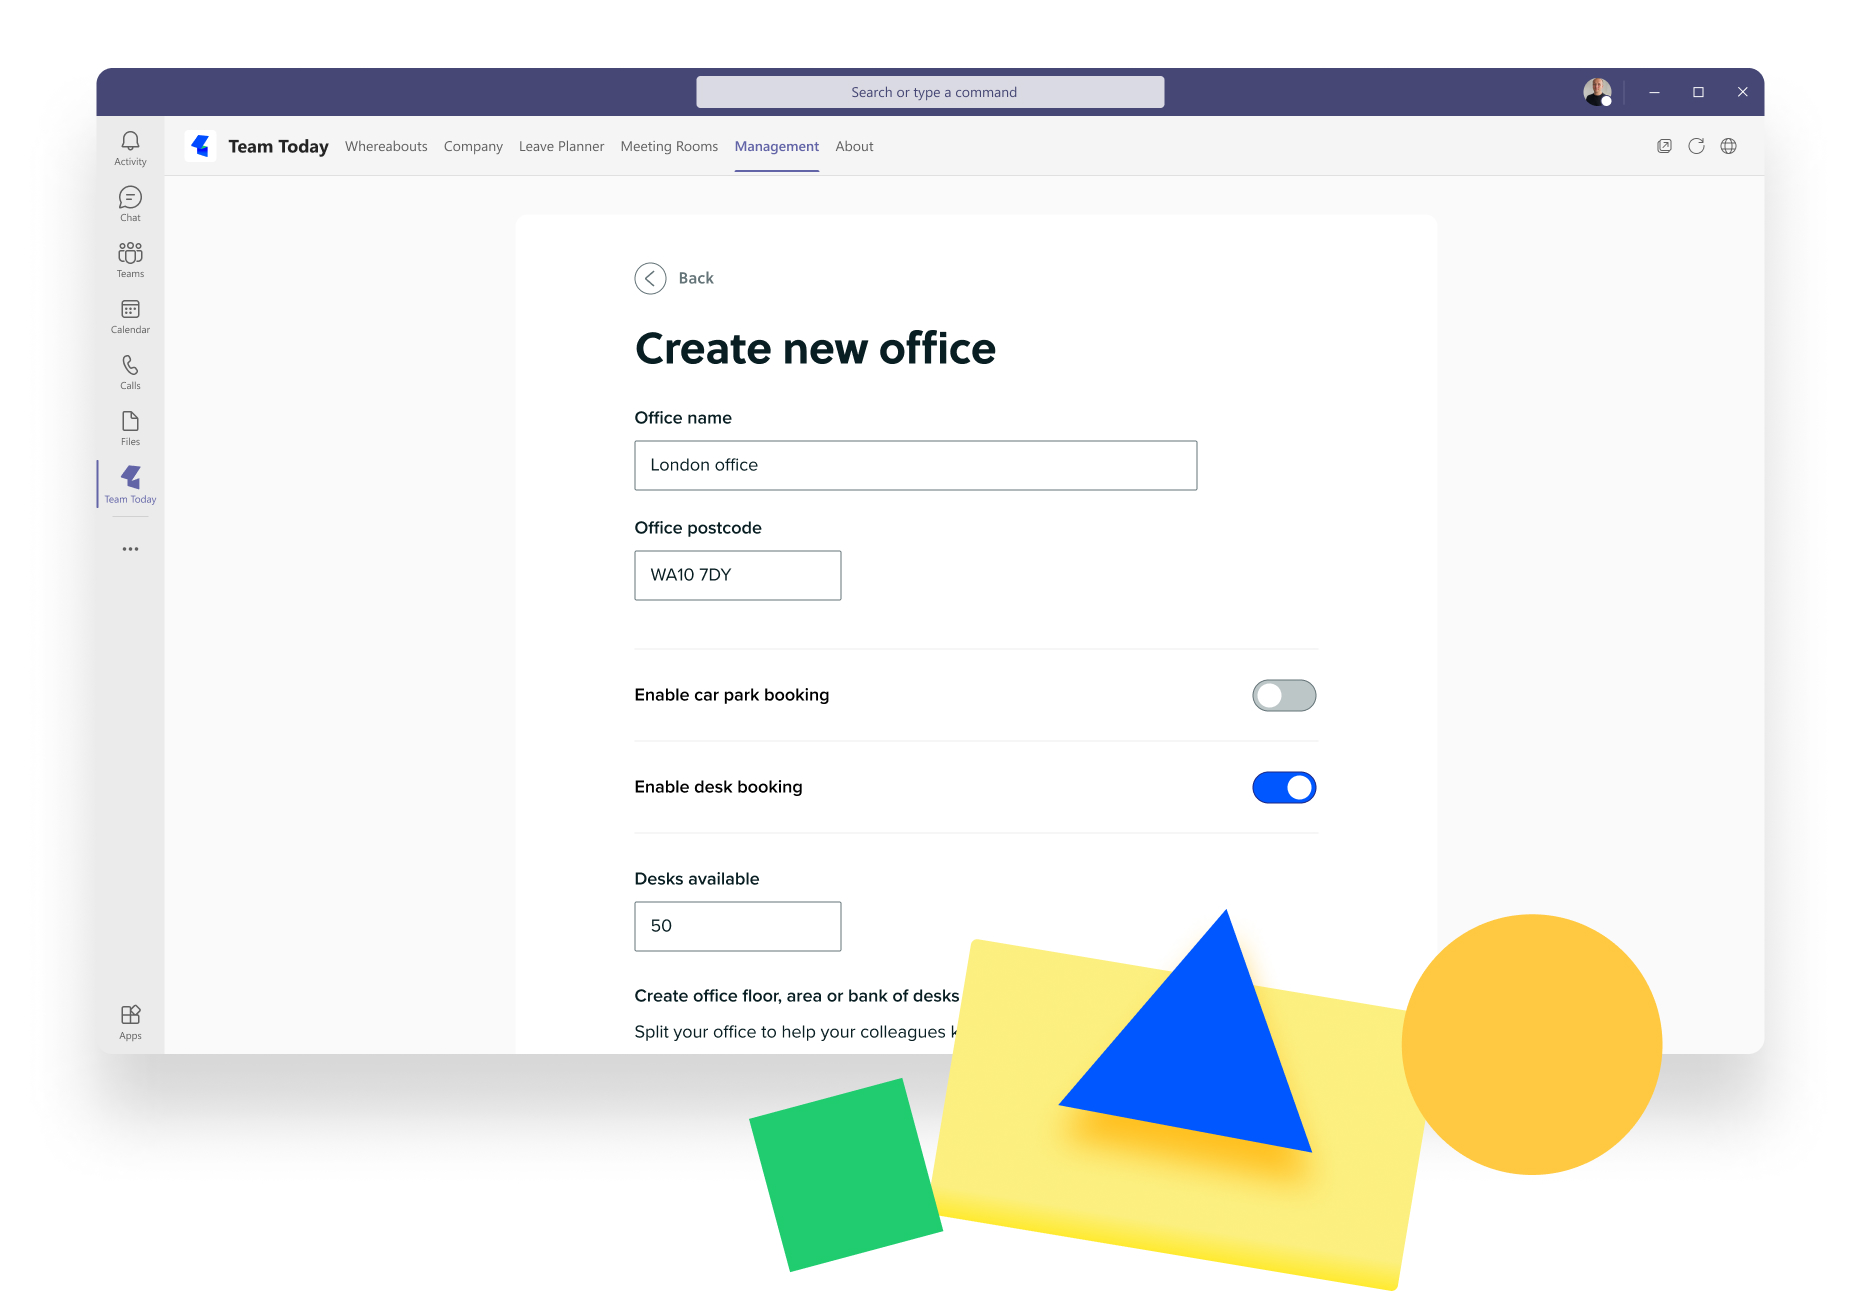
Don’t forget to save changes so your office doesn’t disappear before you’ve even moved your virtual filing cabinet in.
Setting up your virtual floor plan
So now you have your office set up. What next?
Well, you have a multitude of options available to you.
Staying in Office Management, select the office you wish to configure. Once inside, and because you’ve enabled desk booking, you can enter the number of desks available. The default office space has one floor, but we’ve included the ability to add as many floors as you need.
At Team Today we will help you configure your virtual office floors by creating interactive floor plans for you. You can add plans to each and any of your floors, even having interactive plans for some floors and not others. It’s entirely up to you. All you need to do is send us a diagram of your floor plan and we will handle the set-up. Just email your plan to us at hello@team-today.com and we will recreate this into the system for you within 1-2 days.
Within your floors you can have different bookable spaces. ‘Create Bookable Area’ allows you to create an area for a specific purpose, designed for multiple-use booking. Create Individual Desks allows you to create desks that are always assigned to one individual or perhaps a specific role-holder. Your office then begins to build up into a virtual version of your real-life office, complete with floors, spaces and hot desks.
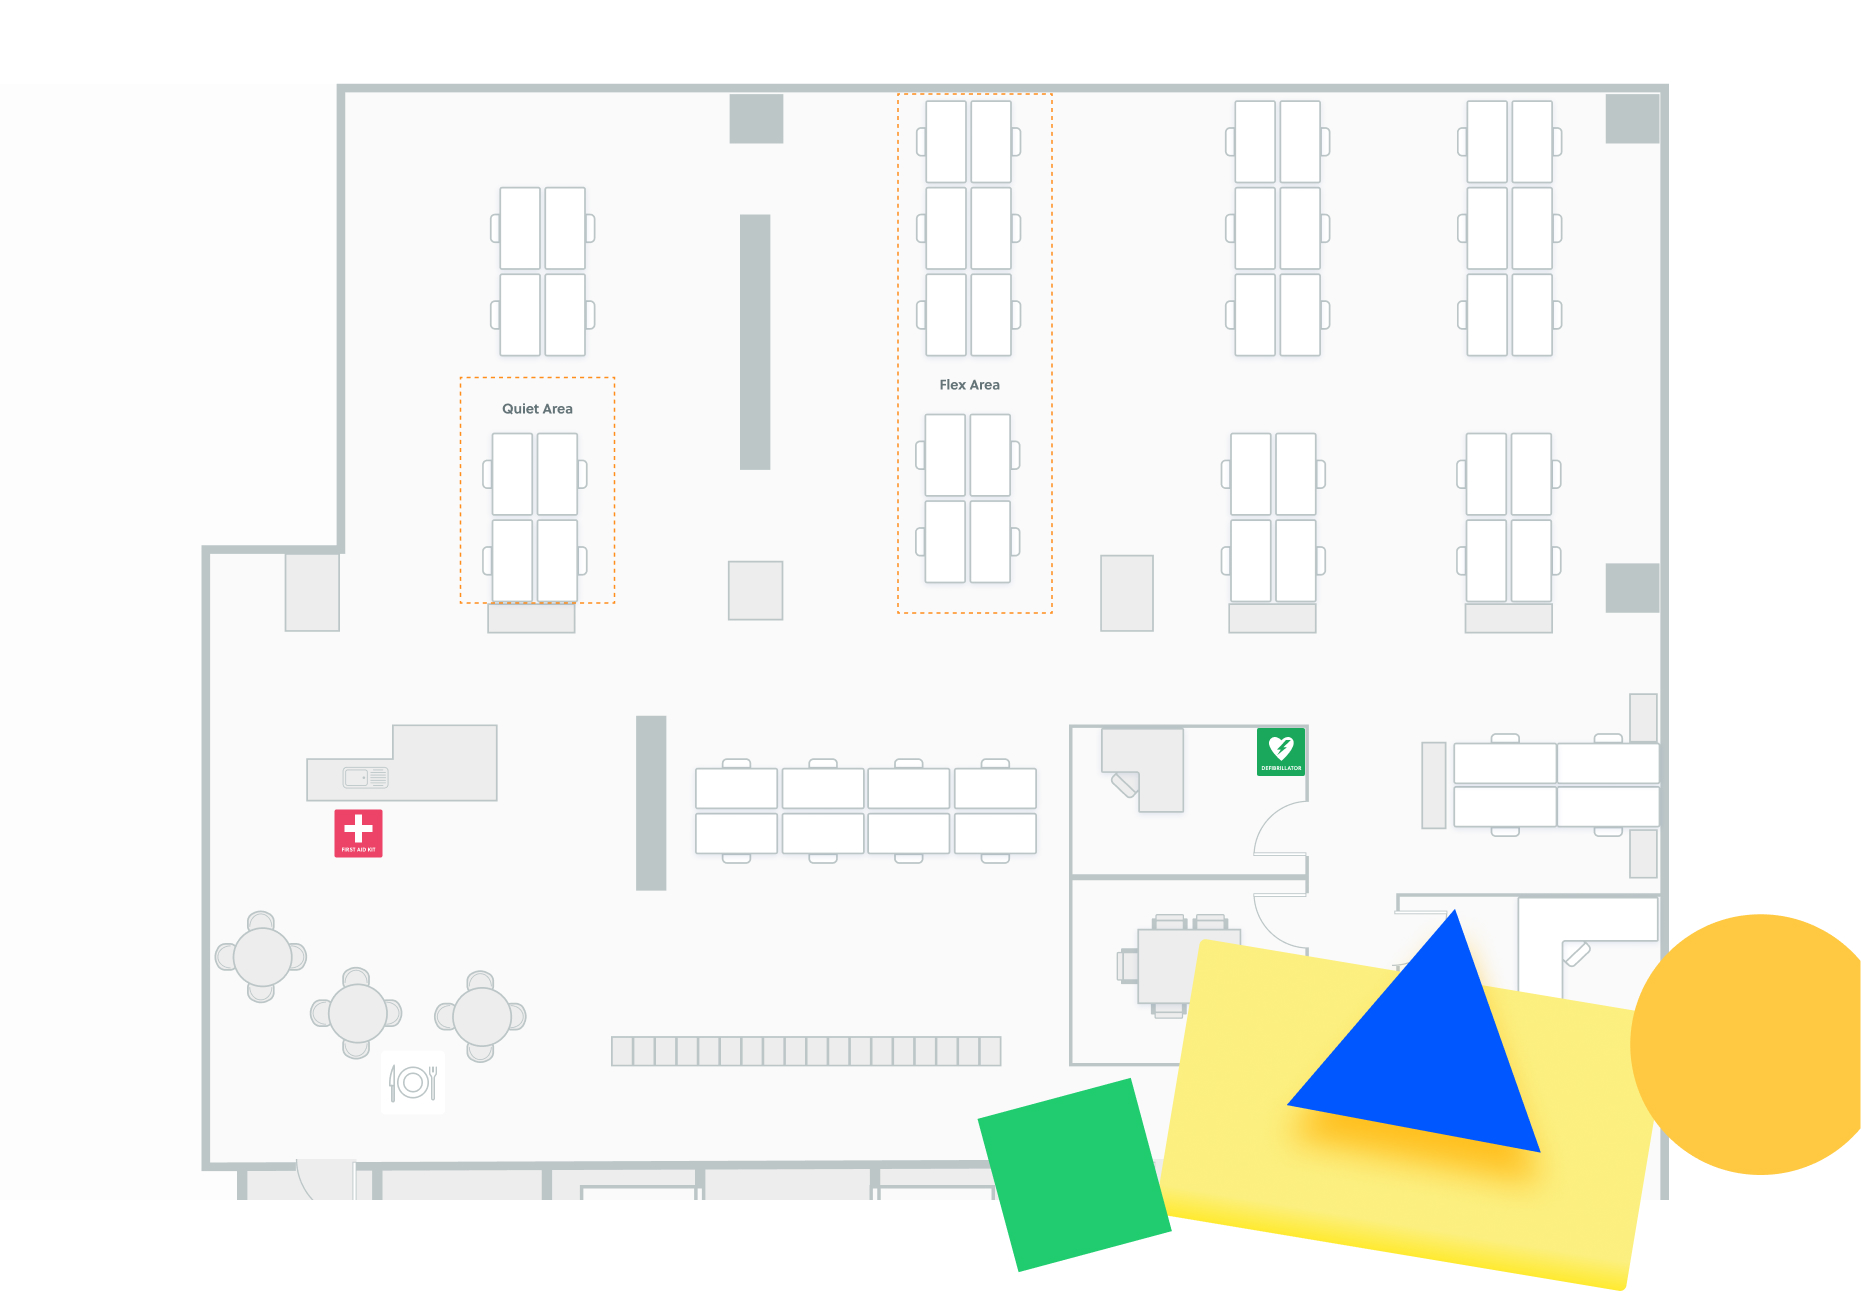
When you are designing your floor plan, it’s a good idea to think about what setup will suit your company best. You may consider zoning your bookable desks, e.g. having areas bookable by different teams, or assigning permanent desks to individuals. You might include neighbourhoods to aid agile and collaborative working.
Perhaps there aren’t enough desks but you still want to have space for people to book into a part of the office, so you could think about having an overflow or breakout area.
With our floor plans you can assign desks to teams, individuals or workgroups so only they can book the desks assigned. Think about the purpose of each space and what it should provide in order for your teams to do their work. Where do general-use hot desks go? Which team-specific areas do you need? Are quiet zones a necessity or is creative space more important? Where are your neighbourhoods? Should there be standing desks and desks for co-workers to share?
Our floor plans also include the facility to indicate on them relevant safety information such as where to find the First Aid Kit, Evacuation Chairs, and Fire Doors/Emergency Exits.
Adding users
Team Today supports provisioning users directly from Active Directory, which means teams, departments and work groups can all be managed in Active Directory rather than in Team Today. Larger organisations tend to prefer this option as it is part of their standard onboarding and off boarding process. We have a guide about this here.
Or users can be added manually. We can help you with this or if you are a smaller organisation, you may prefer to handle this in-house.
In your trusty Management tab, you will find Manage Current Users and Manage Teams. These sections will enable you to add your people and populate your teams. Your first 10 users are always free, and after 10 users you will need to create a paid account. You can do this on a monthly or annual basis; simply go to Settings/Billing/Plan (not in the MS Teams app).
If you have more than 10 users, to save you time you can take advantage of Team Today’s onboarding service. All you need to do is request a template from Team Today and we will import your users for you. This has the benefit of getting everyone in and giving you chance to configure their entries before allowing them access.
Life in your new virtual office
It’s all well and good coordinating the backstage area but what does it all look like in action and how do your teams use the desk booking feature?
The answer lies in Whereabouts.
Office and desk space can be booked in Team View when an office location is selected. This will present to the team member the number of seats available in the chosen office, including by floor and if relevant, by area. Once chosen, the team member simply clicks ‘confirm’ and the desk is booked. This then updates in the back end of the system to show other users and managers how many desks remain.
Desk space can also be booked in the Floor Plan View. Here you will find a map of the office space allowing you to see who is sat where and book a desk directly on any given day. You can see how many desks are available, cancel desks and also assign desks to teams or individuals using the Floor Plan Editor.
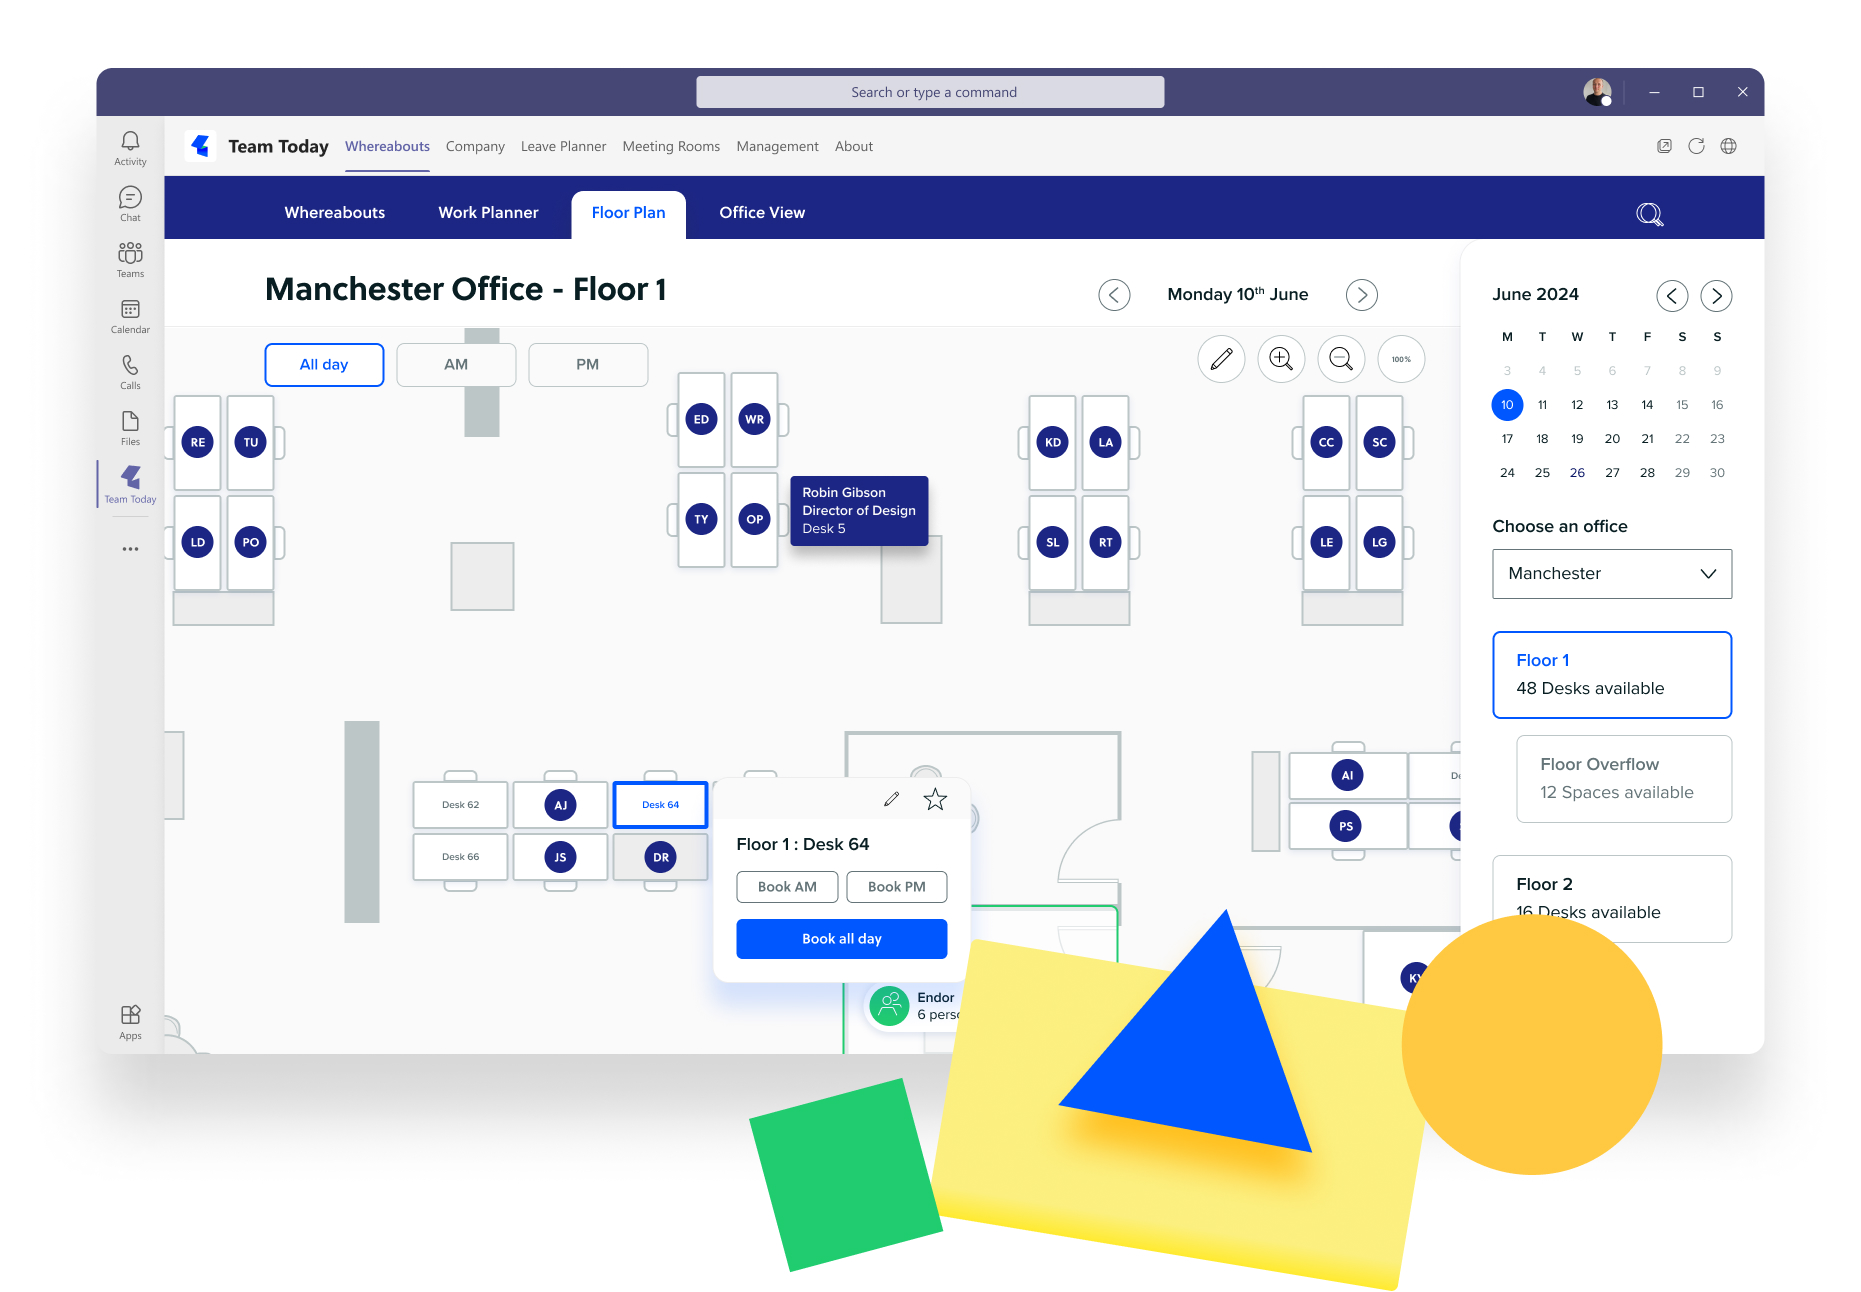
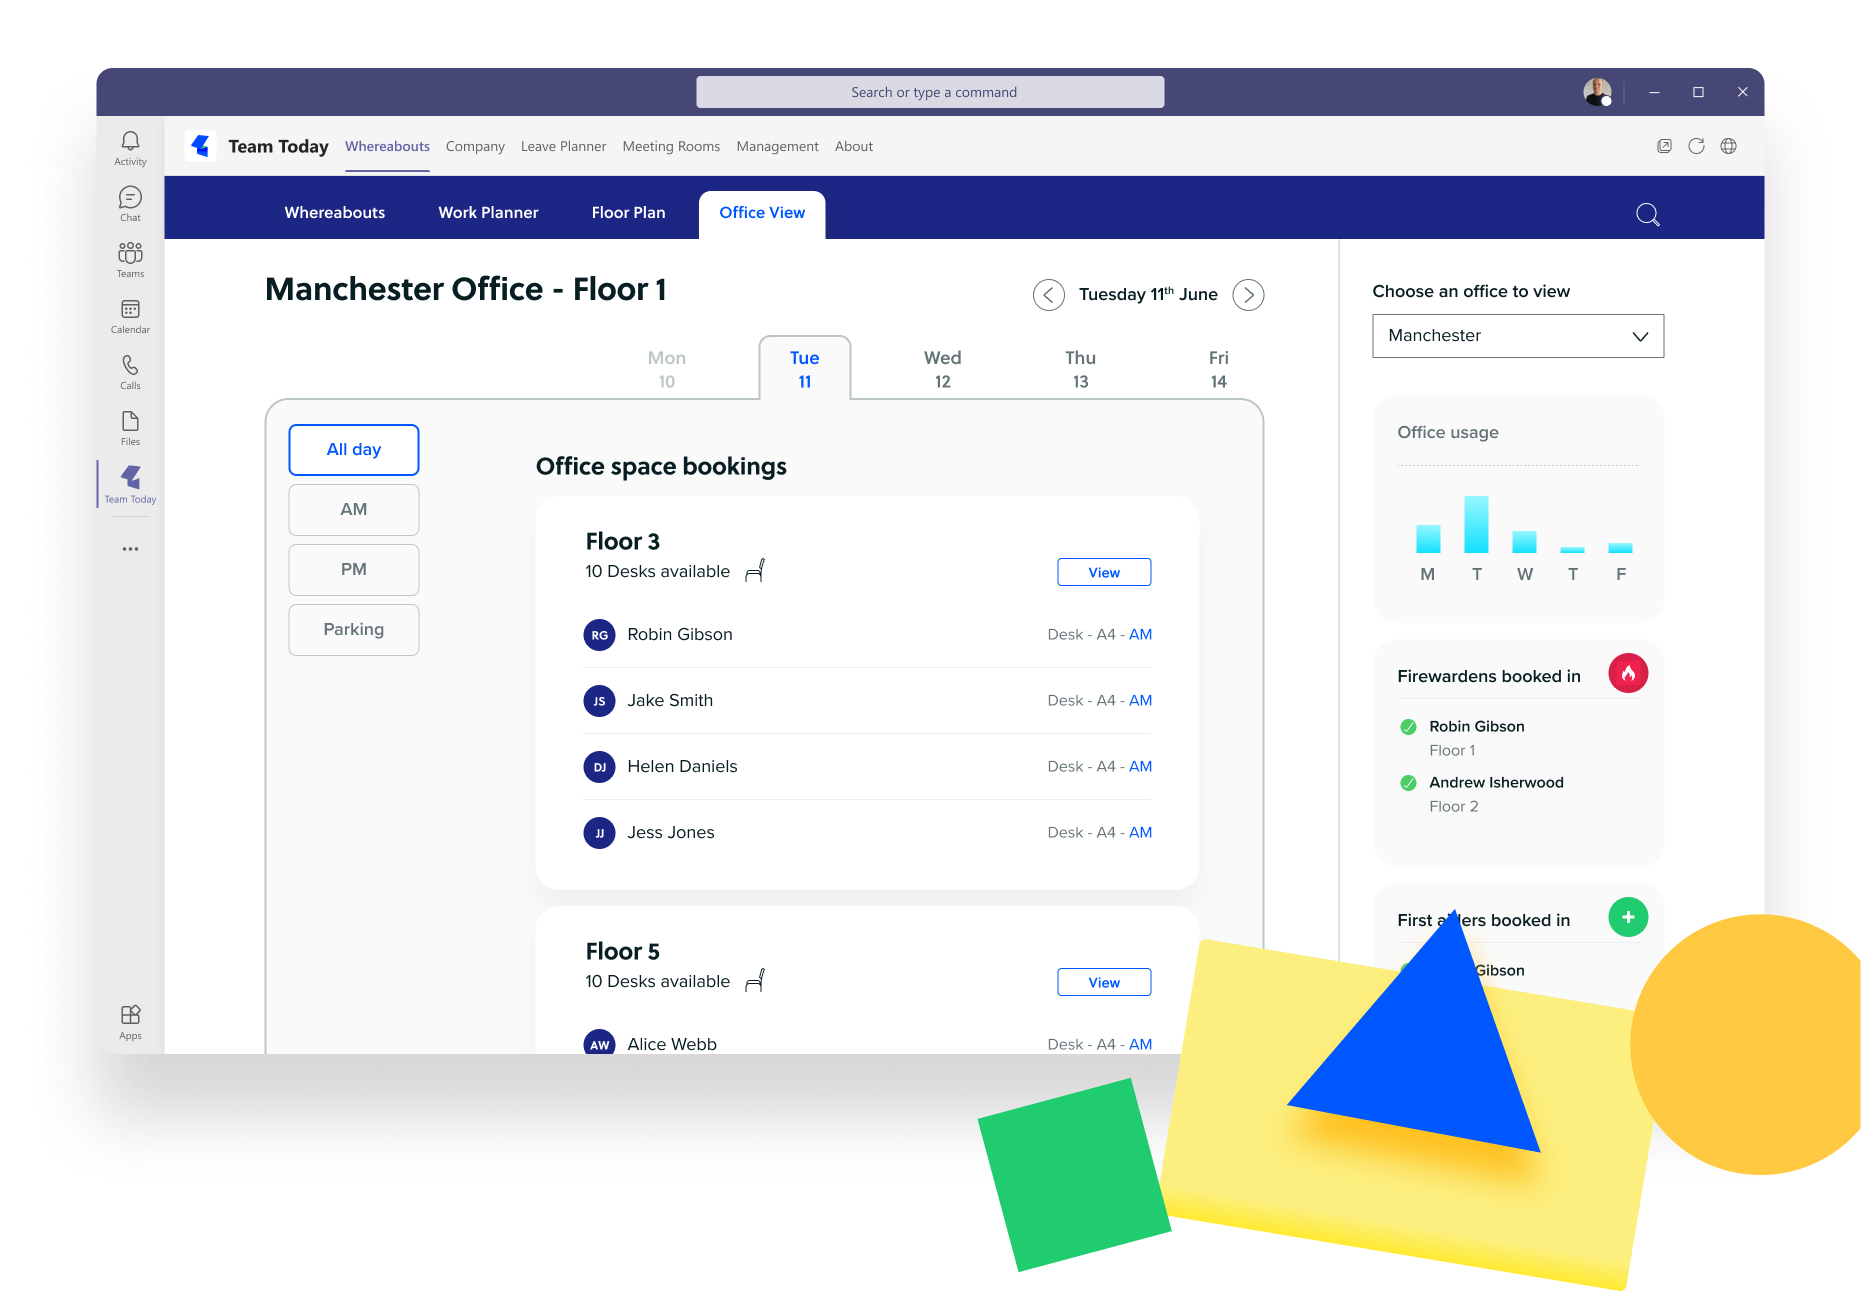
The Office View gives you a birds-eye view of the office spaces, including how many desks are available, who is booked in, and, particularly important for managers, whether you have any key role-holders booked in such as fire wardens and first aiders. You can now also book visitors into the office using the visitor management tool on the right hand side.
There’s even an option to add car parks – contact us for more information.
Now you’re all set, what next?
Once all the floor plans are in and users added, we suggest a review to ensure everything is configured as you wish and a staggered roll-out, with an initial test cohort of between 5–20 individuals.
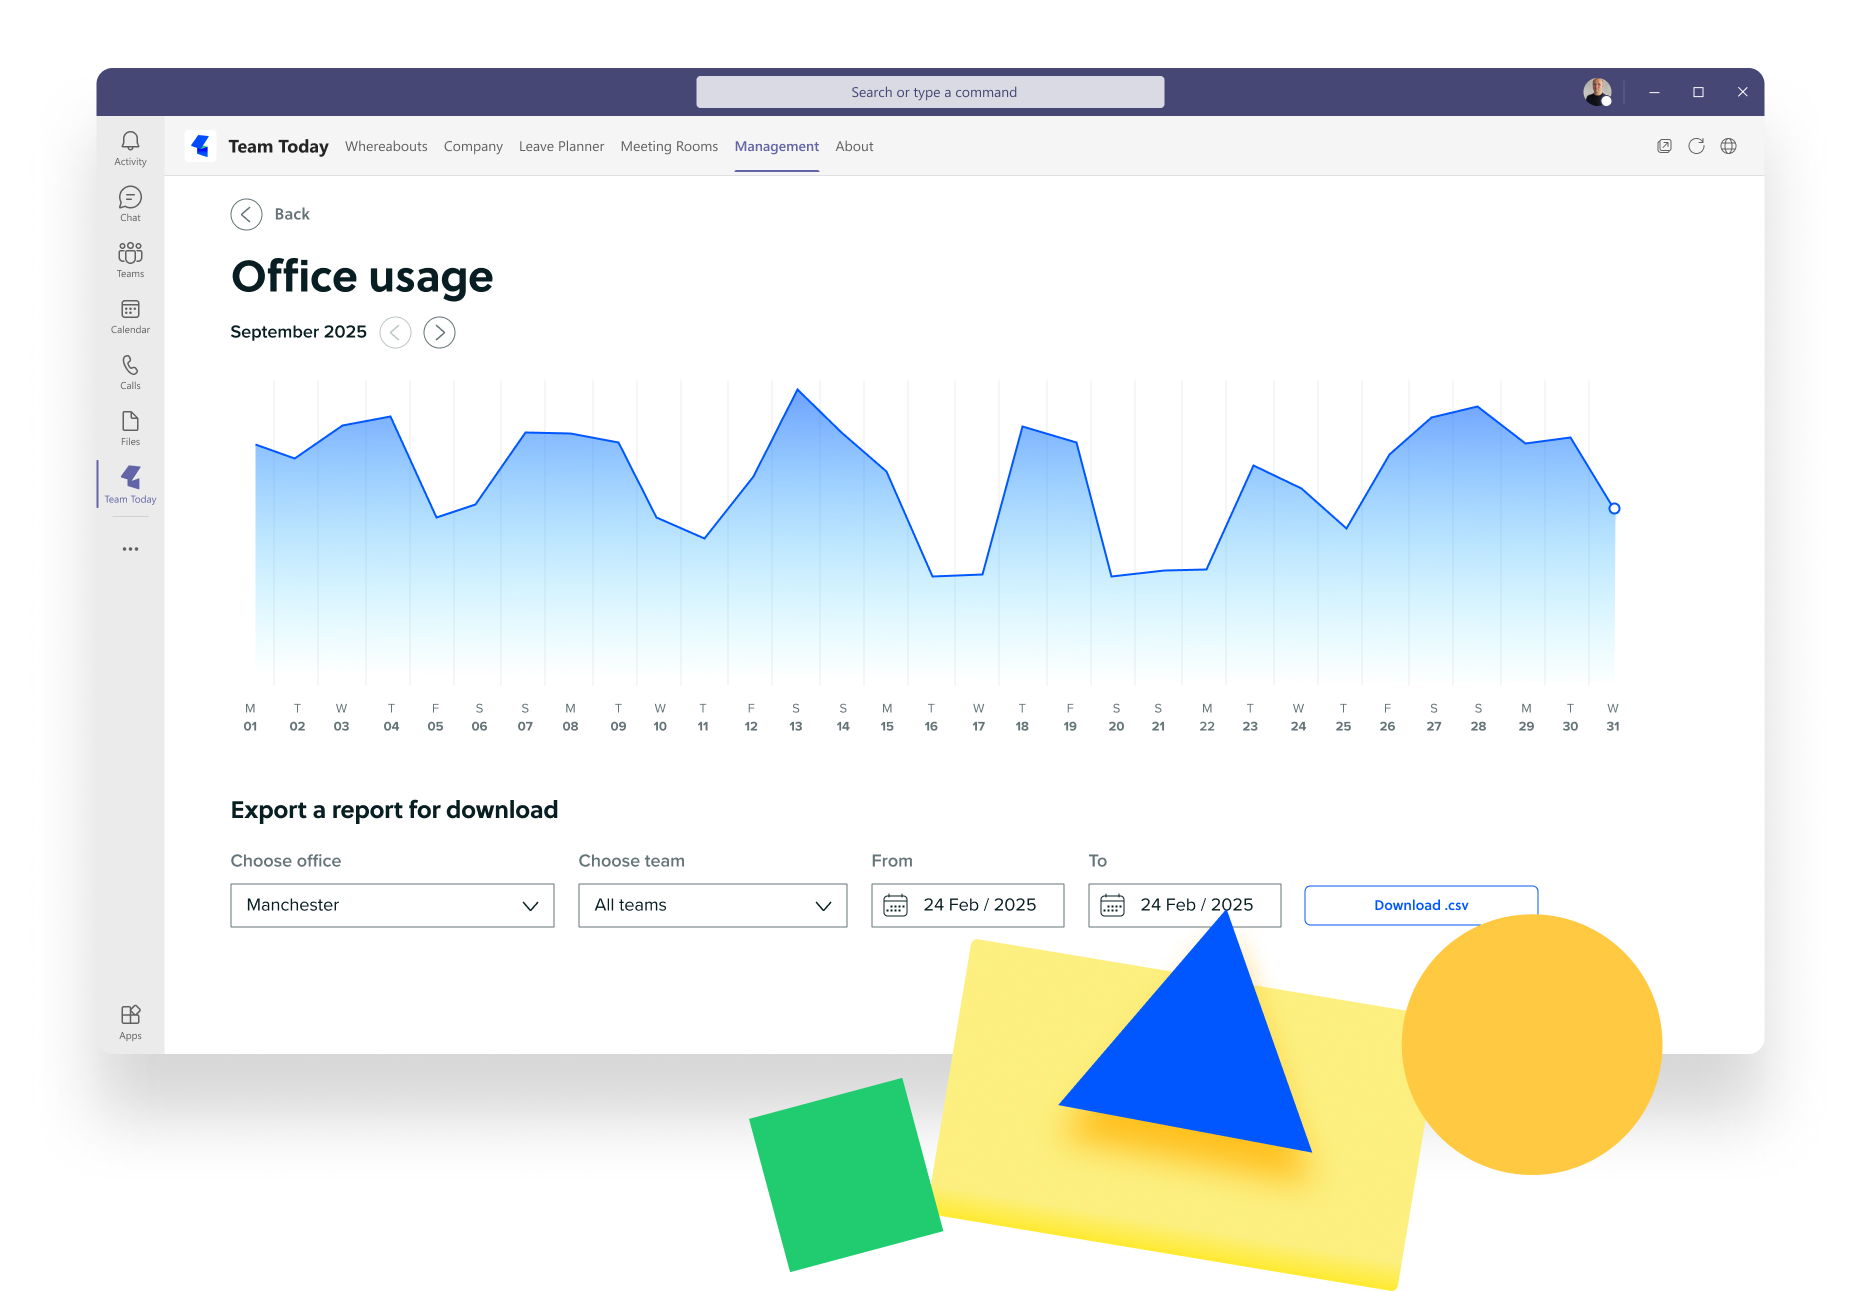
Management information
You will find reports on desk usage in your management information, which can help with space optimisation and help you identify any under-utilised spaces.
Communication
Companies should have clear HR policies in place to support use of hot-desking, including requirements for clearing workspaces after use, securing laptops and protecting data.
You should also consider a policy outlining how far in advance people can book into the office; this is then supported in the system by configuring Desk Booking Windows.
It’s helpful to have an internal SharePoint site where you can store support links and information.
To aid communication and understanding with your teams, you could have an email prepared that explains why your company is using Team Today and includes all relevant policies and procedures. We have drafted an example for you below.
Example roll-out email – desk booking
(Copy example email below)
Planning for hybrid work can be tricky, especially when it comes to figuring out who’s working from home, who’s in the office, and who’s on leave. With our limited office space, we need an easy way to make sure there’s room for everyone every day.
To help with this, we’re using a simple tool called “Team Today,” which integrates with Microsoft Teams. This platform lets you plan and share your work schedule for the week, book office space and manage your holidays.
Here’s how to get started with Team Today:
- Open Microsoft Teams.
- Click the “Plus Icon” at the bottom left of the toolbar to add apps.
- In the top left search bar (not the main one), type “Team Today.
- Click “Add” to install the app.
- You’ll be automatically logged into the correct team.
- After installation, set your Whereabouts for the week by tapping each day and selecting an option.
All bookings made in Team Today will sync automatically with your Outlook and Teams calendars. If you prefer, you can also make bookings using the MS Teams app on your phone or by visiting team-today.com online (tap the login button at the top).
Use the work planner for a monthly view or the office view for a breakdown of who is in the office on a given day. You can favourite desks and set repeat work schedules.
Any questions please contact your line manager, reference our SharePoint page or review the guides at team-today.com/support-home.
(End of example email )
Ready?
Once you are ready, let us know and we can unlock access for everyone once the email has been sent out.
If you need any help with adding users or with any of the above, just send us a message at support@team-today.com.
For more insights and articles about hybrid working from Team Today, visit our blog here.